Lemonade scones are a delightful and incredibly easy-to-make variation of the classic scone, particularly popular in Australia. The magic lies in the unexpected combination of lemonade (or lemon-lime soda) and cream, which reacts with the flour to create a remarkably light, fluffy, and tender scone with minimal effort. There’s no rubbing in butter, no tricky kneading, and often no need for eggs, making them a fantastic recipe for beginners or when you’re short on time.
The carbonation in the lemonade acts as a leavening agent, while the acidity helps to tenderize the dough, and the sugar contributes to browning and a slight sweetness. The cream provides the necessary fat for richness and a beautiful texture. The result is scones that rise impressively high, have a delicate crumb, and are perfect for a traditional afternoon tea or a simple weekend treat.
Key Ingredients and Their Roles:
- Self-Rising Flour: This is crucial. Self-rising flour already contains baking powder and a bit of salt, which are essential for the scone’s rise and flavour. If you only have plain flour, you’ll need to add baking powder (2 teaspoons per cup of flour) and a pinch of salt.
- Thickened Cream (Heavy Cream): This provides the fat content and richness that gives scones their tender texture. Use full-fat cream, as lower-fat versions may not yield the same results.
- Lemonade (or Lemon-Lime Soda): The star ingredient! The carbonation helps with the rise, and the acidity tenderizes the dough. Any standard fizzy lemonade will work. Ensure it’s not flat.
- Optional Additions:
- Caster Sugar: While the lemonade adds some sweetness, a tablespoon or two of caster sugar (superfine sugar) can enhance the flavour and browning, especially if you prefer a sweeter scone.
- Lemon Zest: For an extra burst of fresh lemon flavour and aroma. Adds a lovely visual touch too.
The Super Easy Lemonade Scones Recipe
This recipe is designed to be as straightforward as possible, yielding beautifully light and fluffy scones every time.
Yields: 8-12 scones (depending on cutter size) Prep time: 15 minutes Cook time: 12-15 minutes
Ingredients:
- 3 cups (approx. 360g) self-rising flour, plus extra for dusting
- 1 cup (250ml) thickened cream (heavy cream), cold
- 1 cup (250ml) lemonade (fizzy lemon-lime soda), cold
- (Optional) 1-2 tablespoons caster sugar
- (Optional) Zest of 1 lemon
For Serving:
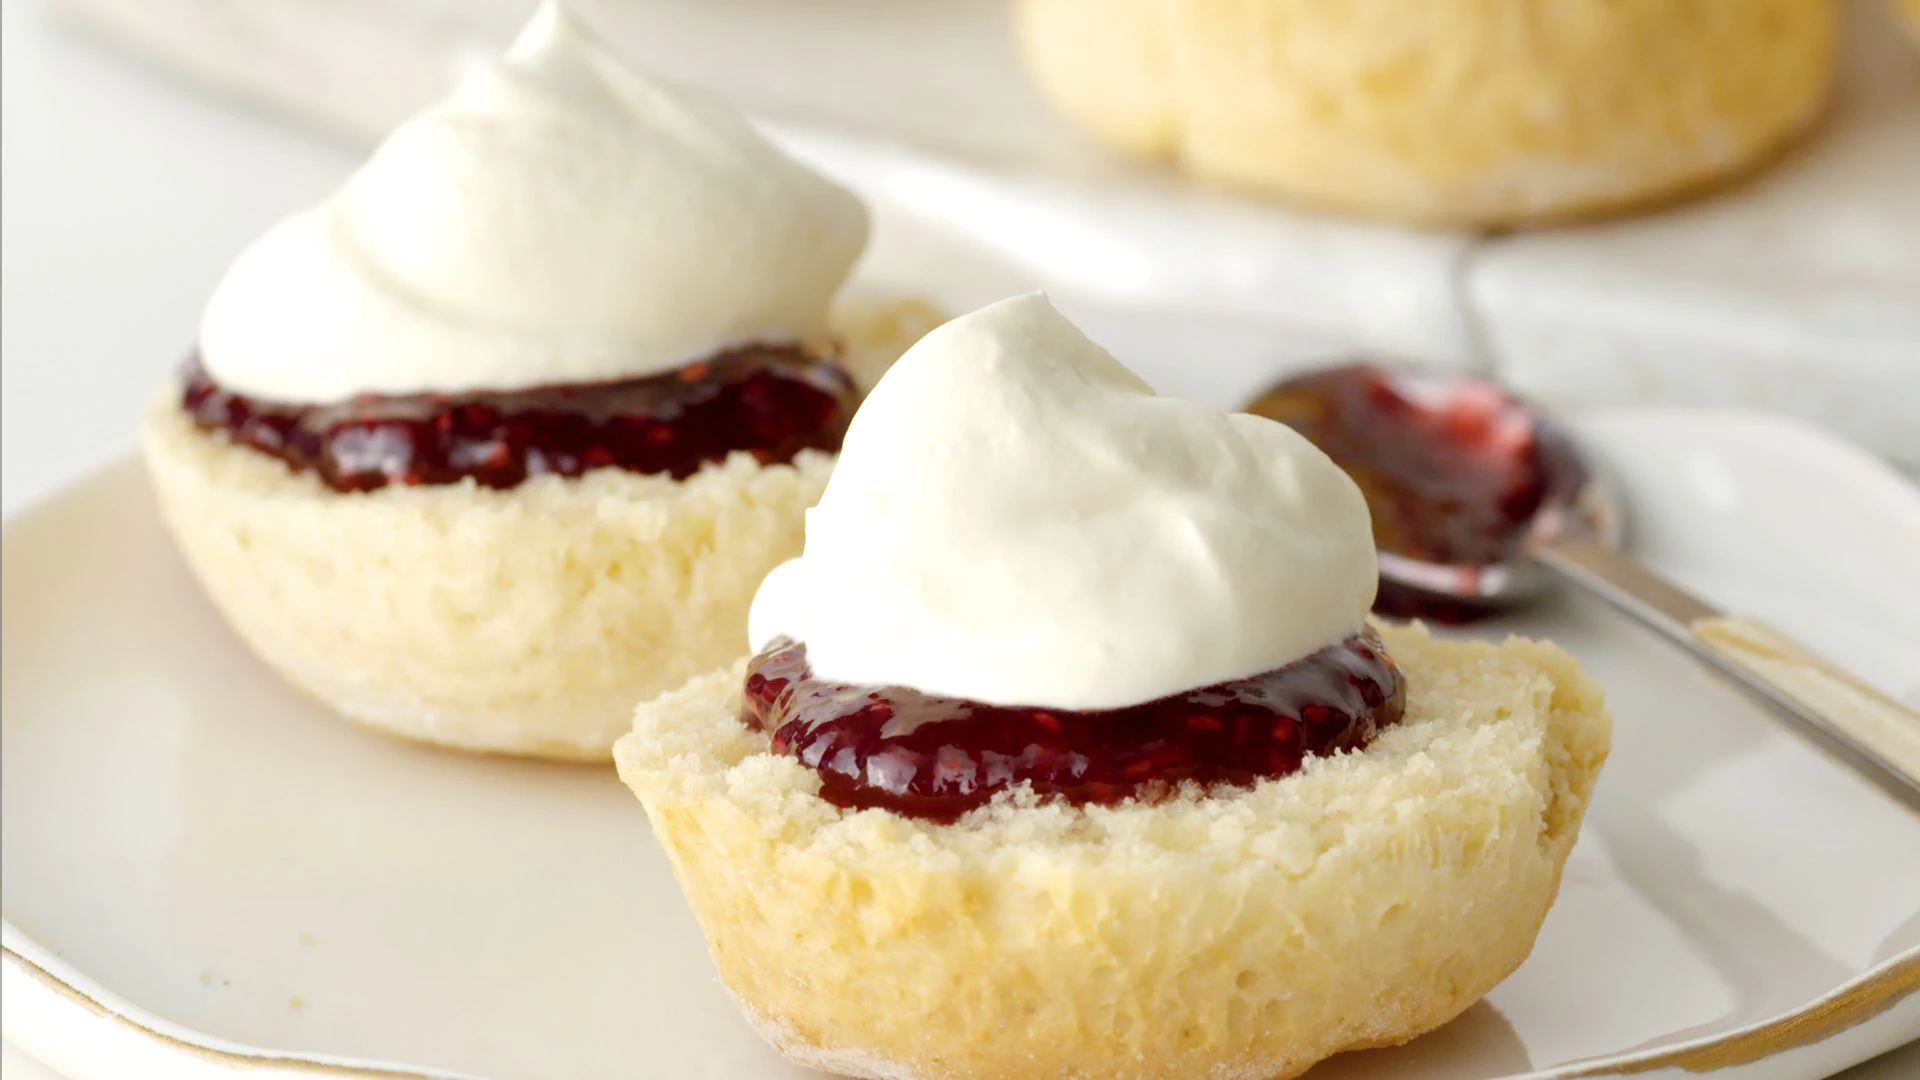
- Jam (strawberry, raspberry, or any favourite)
- Extra thickened cream or clotted cream
Equipment:
- Large mixing bowl
- Measuring cups/spoons
- Flour duster/sieve
- Round scone cutter (approx. 6cm / 2.5 inches)
- Baking tray, lined with baking paper
Instructions:
- Preheat Oven & Prepare Tray: Preheat your oven to a hot 200°C (400°F) or 180°C (350°F) fan-forced. Line a baking tray with baking paper. A hot oven is key for a good scone rise.
- Combine Dry Ingredients (and Zest/Sugar): Sift the self-rising flour into a large mixing bowl. This aerates the flour and prevents lumps. If using, add the optional caster sugar and lemon zest to the flour and whisk briefly to combine.
- Add Wet Ingredients: Make a well in the center of the flour. Pour in the cold thickened cream. Then, slowly pour in the cold lemonade.
- Mix Gently: Using a butter knife (or a flat-bladed knife), gently mix the ingredients together. Use a cutting motion rather than stirring, which helps prevent overworking the dough. Mix just until the ingredients are just combined and form a shaggy, soft dough. It’s okay if there are still some dry bits of flour; do not overmix, as this will lead to tough scones.
- Turn Out and Pat: Lightly flour a clean work surface. Gently turn the dough out onto the floured surface. Using floured hands, gently bring the dough together and pat it out into a rectangle or circle about 2-3 cm (¾-1 inch) thick. Do not knead the dough, just pat it. The less you handle the dough, the lighter your scones will be.
- Cut the Scones: Dip your scone cutter in a little flour to prevent sticking. Press the cutter straight down into the dough (do not twist, as twisting can seal the edges and prevent rising). Repeat until you’ve cut as many scones as possible. Gently gather the scraps, lightly pat them together, and cut out any remaining scones.
- Arrange on Tray: Place the cut scones onto the prepared baking tray. For best results and a good rise, arrange them so they are just touching each other on the tray. This provides support for the upward rise.
- Bake: Bake in the preheated oven for 12-15 minutes, or until the scones are well-risen, golden brown on top, and sound hollow when tapped on the bottom. The exact time will depend on your oven and the size of your scones.
- Cool Slightly & Serve: Once baked, remove the scones from the oven. Transfer them to a wire rack. While still warm, break them apart (they should easily separate where they were touching). Serve immediately with your favourite jam and extra thickened cream or clotted cream.
Tips for Success:
- Cold Ingredients: Ensure your cream and lemonade are cold. This helps with the texture and rise.
- Don’t Overmix: This is the most crucial tip for light and fluffy scones. Mix just until combined. Overworking the dough develops gluten, leading to tough scones.
- Straight Cut: Always press the scone cutter straight down and lift it straight up. Twisting can inhibit the rise.
- Touching is Good: Placing scones close together on the tray encourages them to rise upwards rather than spreading outwards.
- Hot Oven: A hot oven provides an initial burst of heat that helps the scones rise quickly.
- Freshness: Scones are best eaten on the day they are made, ideally warm from the oven.
Enjoy these incredibly easy and delicious lemonade scones, a testament to how simple ingredients can create something truly special!