Hedgehog slice is a beloved Australian dessert that has stood the test of time thanks to its delicious blend of chocolate, biscuit crunch, and nutty goodness. This no-bake treat is rich, sweet, and incredibly easy to make, which is why it’s a staple at bake sales, lunchboxes, and family gatherings. Whether you’re a seasoned home baker or a complete beginner, hedgehog slice is one of those foolproof recipes you can whip up in no time with pantry staples and minimal equipment.
What is Hedgehog Slice?
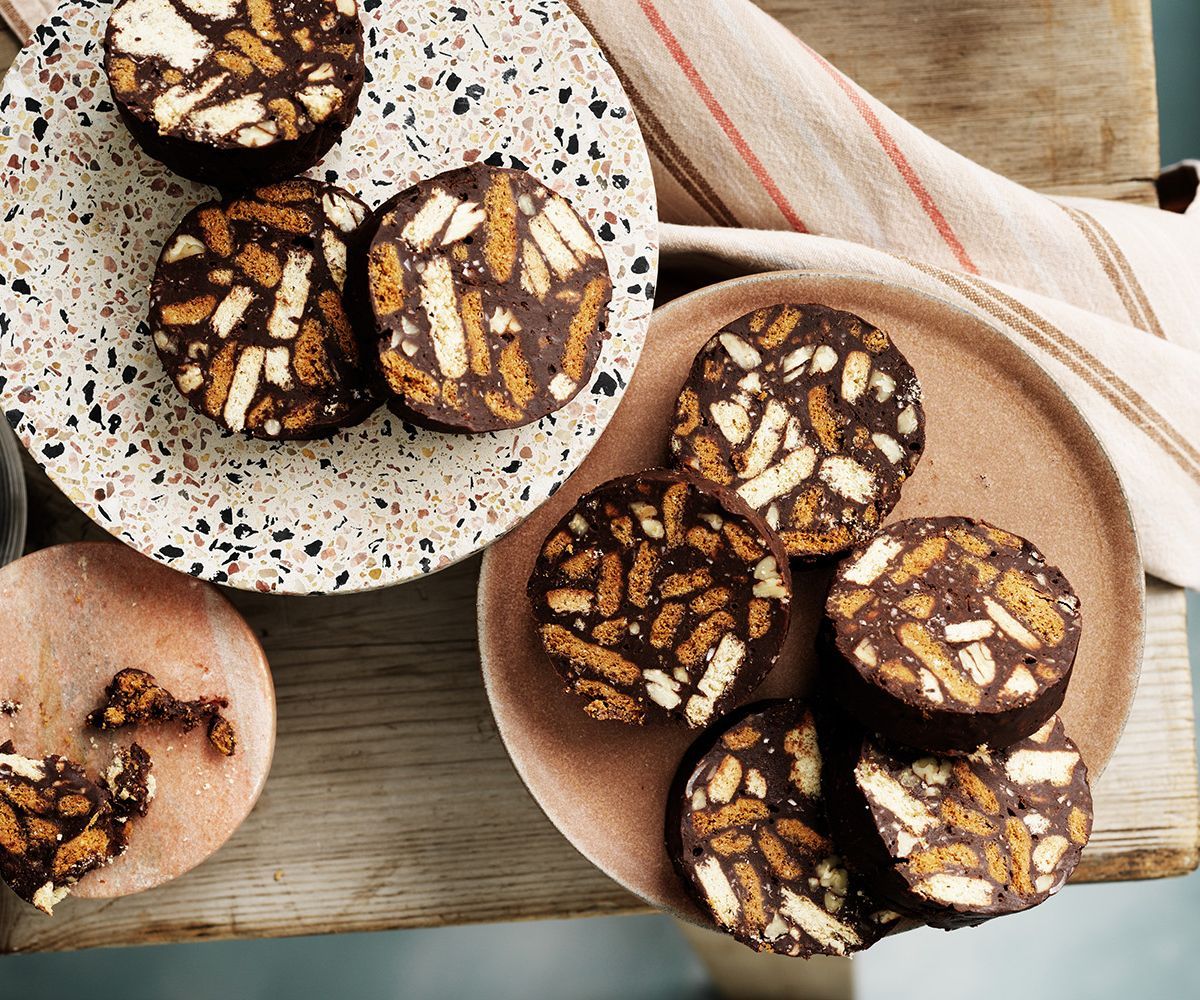
Hedgehog slice is a no-bake chocolate dessert featuring crushed biscuits, cocoa or melted chocolate, sweetened condensed milk, and nuts usually walnuts or almonds pressed into a tray and chilled until firm. Once set, it is sliced into squares or bars. The “hedgehog” name refers to its bumpy, speckled appearance when sliced, thanks to the visible chunks of biscuit and nuts peeking through the chocolatey base.
One of the best things about this slice is its versatility. You can customise it with different types of biscuits, add-ins like coconut or dried fruit, or even top it with a layer of chocolate ganache for extra indulgence.
Ingredients
Here’s what you’ll typically need to make a traditional hedgehog slice:
- Plain sweet biscuits (like Marie or Digestives) – about 250g
- Sweetened condensed milk – 395g tin
- Unsalted butter – around 125g
- Cocoa powder – 2 to 3 tablespoons
- Dark or milk chocolate (optional for richness) – 100g melted
- Chopped nuts (walnuts, almonds, or hazelnuts) – ½ to 1 cup
- Vanilla extract – 1 teaspoon
- Desiccated coconut or dried fruit (optional) – ½ cup
For the topping (optional):
- Dark chocolate – 200g
- Butter or cream – 1 tablespoon (for a glossy finish)
Step-by-Step Method
Prepare the tray
Line a square or rectangular slice tin (approximately 20cm x 20cm or 18cm x 28cm) with baking paper, ensuring the sides are covered. This makes it easier to lift the slice out once it’s set.Crush the biscuits
Place the biscuits in a large bowl or zip-lock bag and crush them using a rolling pin or the base of a glass. You want a mixture of fine crumbs and small chunks to give the slice texture.Melt the wet ingredients
In a saucepan over low heat, melt the butter, sweetened condensed milk, and cocoa powder together. Stir until the mixture is smooth and well combined. If using chocolate for extra richness, stir it in until melted and glossy. Add vanilla extract.Combine dry and wet ingredients
Pour the warm chocolate mixture over the crushed biscuits. Add the chopped nuts (and coconut or dried fruit, if using). Mix well, making sure all the biscuit pieces are coated.Press into the tin
Spoon the mixture into the prepared tin and press it down firmly with the back of a spoon or a spatula to create an even surface.Add a chocolate topping (optional)
If you’re going all out, melt 200g of chocolate with a tablespoon of butter or cream and pour it over the top of the slice. Spread it evenly and tap the tray gently to remove any air bubbles.Chill until firm
Refrigerate the slice for at least 2–3 hours, or overnight if possible, until completely set.Slice and serve
Once firm, remove the slice from the tray using the edges of the baking paper. Cut it into small squares or bars using a sharp knife. Wipe the knife between cuts to keep the edges neat.
Tips for the Perfect Hedgehog Slice
- Don’t overheat the chocolate mixture. Use gentle heat and stir continuously to avoid burning.
- Use baking paper. This will save you the hassle of prying the slice out of the tin.
- Vary the texture. Combining both finely crushed and chunkier biscuit pieces gives the best bite.
- Toast your nuts. Toasting nuts before mixing them in will enhance their flavour and add extra crunch.
- Use quality chocolate. If adding a topping or melting chocolate into the base, a good-quality chocolate bar (not compound chocolate) will give a richer flavour.
Storage and Shelf Life
Hedgehog slice should be stored in an airtight container in the refrigerator. It will keep well for up to a week, though it’s often eaten long before that! You can also freeze the slice for up to two months. Just separate layers with baking paper and store in a freezer-safe container. Defrost in the fridge overnight before serving.
Variations
The beauty of hedgehog slice lies in its adaptability. Here are a few variations to try:
- Gluten-free: Use gluten-free biscuits for a coeliac-friendly version.
- Vegan: Use plant-based condensed milk, vegan butter, and dairy-free chocolate.
- Add-ins: Try adding crushed honeycomb, chopped marshmallows, cranberries, or white chocolate chips for extra flair.
- Mint version: Add a few drops of peppermint extract and top with mint chocolate for a fresh twist.
Final Thoughts
Hedgehog slice is a simple, no-bake recipe that packs a lot of flavour and texture into each bite. With its crunchy biscuit base, sweet chocolate coating, and nutty crunch, it’s a nostalgic favourite that appeals to all ages. Whether you’re making it for a special occasion or just to fill the biscuit tin, hedgehog slice is sure to become a go-to recipe in your collection. It’s the kind of treat that proves you don’t need to turn on the oven to create something truly delicious.